TEAM STAB RC Barrage BTD Kit Build

Mongol Pete

Well-Known Member
Messages
145
Location
Ulaanbaatar, Mongolia
Greetings from Mongolia Barrage fans,

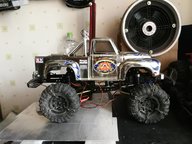
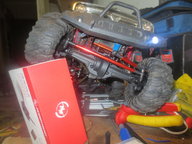
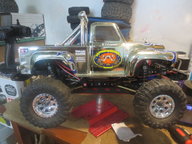
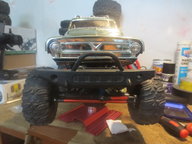
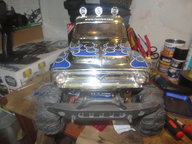
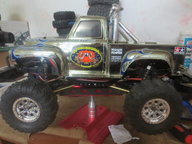
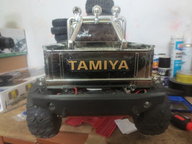
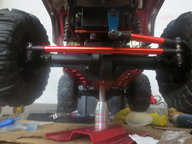
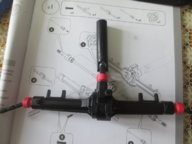
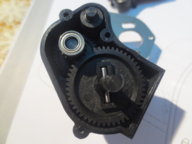
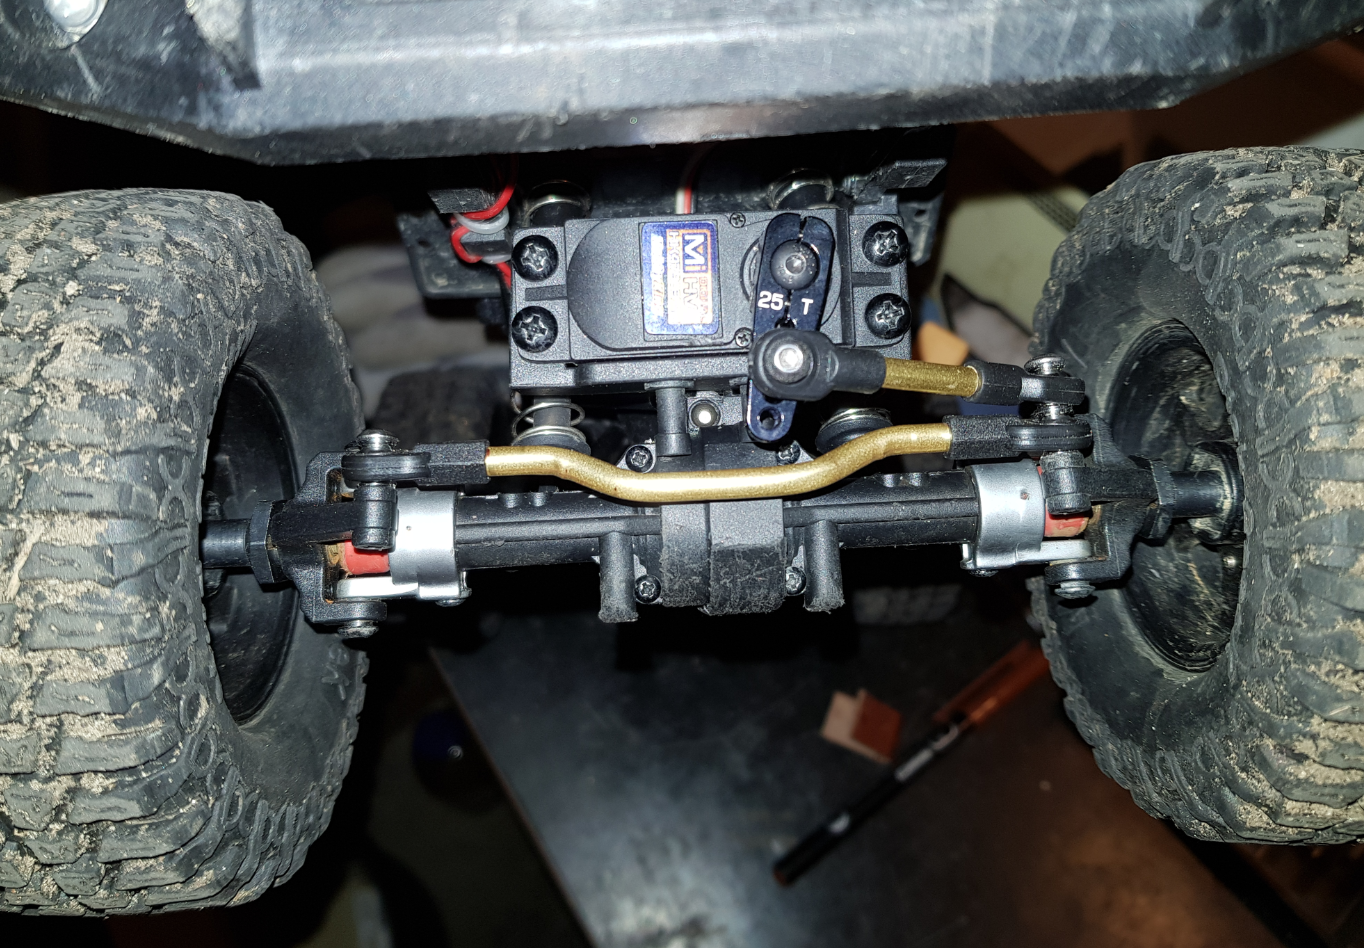
This build started great and has quickly taken a turn for the worst. I was very pleased with the build experience, for the most part. Just a heads up, the gearbox and the axles need grease. I heat wrapped the pins in the front axles to keep them from escaping, and then I flipped and later removed the front cross member to get more suspension clearance for the servo. Then I moved the shocks up to the top position to drop the chassis.

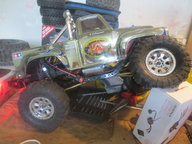
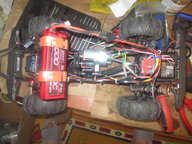
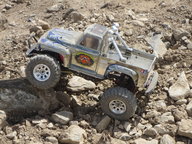
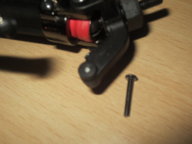
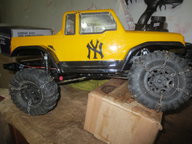
However, I am very disappointed to report that the TEAM STAB Barrage broke badly on the maiden crawl! What's worse, and shocking, is that it broke falling less than a foot from the sofa onto a carpet. It broke before we even crawled it outside, before it even touched a rock! One of the body posts split and the screw going through the left steering spindle snapped in two, leaving the bottom half in the now useless spindle. Add to that the fact that the stock servo is too weak to turn the wheels, and I am left with a very disappointing first impression of what I believed was a great value crawler. I hope Horizon Hobby will make this right. I have heard good things about their customer support.

For now, at least I can say that we are happy with our Amp BTD kit, but the Barrage unfortunately leaves too much to be desired, especially in the all important durability catagory. I hope I will have better experiences with this kit in the future.
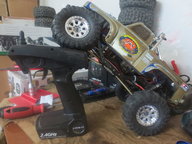
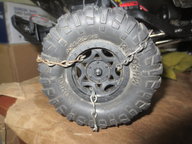
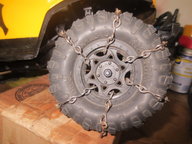
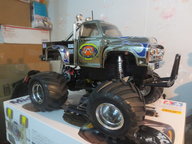
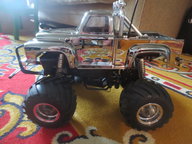
Here are some pics,
MP
 

Attachments

  • IMG_4641.JPG
    IMG_4641.JPG
    123.5 KB · Views: 29
  • IMG_4646.JPG
    IMG_4646.JPG
    100 KB · Views: 29
  • IMG_4649.JPG
    IMG_4649.JPG
    161.9 KB · Views: 27
  • IMG_4666.JPG
    IMG_4666.JPG
    24.1 KB · Views: 29
  • IMG_4667.JPG
    IMG_4667.JPG
    87.7 KB · Views: 30
Sorry to hear about the unfortunate crash. I also just assembled my barrage and find the steering painful. I didn't grease it up in the excitement and will have to tear it all down to get at it. I noticed in your pics that some items are colored different than mine, all my body pieces are black but your mounts are silver and your axles red. Did you use any upgrade parts?
 
Sorry to hear about the unfortunate crash. I also just assembled my barrage and find the steering painful. I didn't grease it up in the excitement and will have to tear it all down to get at it. I noticed in your pics that some items are colored different than mine, all my body pieces are black but your mounts are silver and your axles red. Did you use any upgrade parts?

Thanks Breaktime,

The kit version comes with those aluminum front hubs. The red you see is heat wrap tubing that I installed over the grub screws because I have read that they can sometimes back out and people have lost the small pins they hold in place.

Happy New Year!
MP
 
Hello Barrage fans,

I decided to use the cross member I removed from under the stock battery tray location to mount the battery tray between the transmission and the front shocks. Some guys do this with zipties but I decided to drill holes in the chassis and bolt it in there. I will run a gens-a-spammer 2s 2200mAh battery, which I am told will fit perfectly between the stops on the ends of the stock tray. I am quite happy with this mod.

Peace,
MPIMG_4850.JPG IMG_4849.JPG IMG_4843.JPG IMG_4845.JPG IMG_4846.JPG IMG_4848.JPG
 
What tires / wheels did you decide to go with?

I'm currently looking at the Proline BFGoodrich 1.9 KO tires; these tires are very scale in terms of detail and size. If I end up going with these, I think I would buy a set of GMade 1.9 steelie beadlock rims ... I love the plain black steel wheel look!

Eric
 
I got these on a trade so I'm gonna run these for a while. If I were to spend money and actually buy wheels and tires, I'd get the plain white steel wheels and Proline Hyrax tires. That is not from experience, that would just be my wheel and tire preference based on what I've seen and read.

Cheers,
MP
 

Attachments

  • IMG_4999.JPG
    IMG_4999.JPG
    176.6 KB · Views: 7
  • IMG_4998.JPG
    IMG_4998.JPG
    191.4 KB · Views: 7
  • IMG_4997.JPG
    IMG_4997.JPG
    173.3 KB · Views: 7
Also in my Barrage the screw going through the left steering spindle snapped in two. M2 screws are too weak! So I have rebuilt all the steering system using M3 screws:

MZS7tM7.png
 
Yes, that screw and the plastic diffs have showed themselves to be problems needing attention on ours as well. Shame ECX didn't address those issues with this "new" release. I ordered 12.9 grade alloy steel M2 hex screws, and the Redcat E16 metal diffs.

-MP
 
BOO-rrage! Opened up the axles to get at the stripped diff spool and ....

Seriously disappointed with this truck. It sits while I wait for parts and then it breaks almost every time I run it. IMG_5157.JPG IMG_5160.JPG
 
DA25E8CE-BA32-480D-BAA5-CB4288953716.jpeg
Hello Barrage fans,

I decided to use the cross member I removed from under the stock battery tray location to mount the battery tray between the transmission and the front shocks. Some guys do this with zipties but I decided to drill holes in the chassis and bolt it in there. I will run a gens-a-spammer 2s 2200mAh battery, which I am told will fit perfectly between the stops on the ends of the stock tray. I am quite happy with this mod.

Peace,
MPView attachment 2741 View attachment 2740 View attachment 2742 View attachment 2743 View attachment 2744 View attachment 2746
Cool way to mod the battery tray. I am just now reading this. I also removed the cross brace. I cut the ends off and used them in the original location to re secure the shock tower. I screwed the remaining center part of the brace to the top of the other front brace. A perfect fit, just countersink. I then I installed the electronics tray/plate. That is the perfect height allowing for full compression of the front suspension. I then mounted my battery tray in the same location as you did, except I drilled my two holes on top of the chassis rails. I used the two extra screws from my kit meant for securing the leds lights, to fasten the battery tray directly on top of the rails. Then weave the battery straps to the tray, and tighten up the screws snug with blue loctite. It’s solid, and using the cross brace as a perfect fit spacer worked great for me.
 
Well, our ECX BOOrrage has been nothing short of a nightmare, a big ol' LEMON. Well, when life gives you lemons...

This truck is undergoing a total makeover. I finally got rid of those toy-grade axles and it now sits on some beefy SCX10 style axles. I also installed an HSP 540 transmission and will run a decent 540 crawler motor. The best part of the project though is that this BOOrrage will rise again, better than ever as the...Midnight BOOrrage! I'm gonna run this classic Tamiya hardbody!

Thanks for stopping by,
MP
 

Attachments

  • IMG_5041.JPG
    IMG_5041.JPG
    185.1 KB · Views: 14
  • IMG_5042.JPG
    IMG_5042.JPG
    160.7 KB · Views: 14
  • IMG_5039.JPG
    IMG_5039.JPG
    195.5 KB · Views: 14
It's going to take some adjusting X, but I am really excited to get it done. I might have pics up here later this week or maybe at the weekend.

-MP
 
Hi Jason,

Here she is with the SCX10 style axles, the HSP transmission and a 540 motor. She'll be up and running this weekend and no more flimsy axle BS o_O I give you...

The Midnight BOOrrage!

Thanks for stopping by,
MP
 

Attachments

  • 34504456_1703292366420916_2708213781934112768_n.jpg
    34504456_1703292366420916_2708213781934112768_n.jpg
    172.5 KB · Views: 10
Reborn as The Midnight BOOrrage!

Looking forward to her maiden run this weekend.
 

Attachments

  • IMG_5651.JPG
    IMG_5651.JPG
    181.9 KB · Views: 12
  • IMG_5652.JPG
    IMG_5652.JPG
    180.2 KB · Views: 12
  • IMG_5654.JPG
    IMG_5654.JPG
    228.6 KB · Views: 14
  • IMG_5655.JPG
    IMG_5655.JPG
    193.3 KB · Views: 12
  • IMG_5656.JPG
    IMG_5656.JPG
    145.3 KB · Views: 11
  • IMG_5657.JPG
    IMG_5657.JPG
    178.3 KB · Views: 11
  • IMG_5658.JPG
    IMG_5658.JPG
    176.8 KB · Views: 10
  • IMG_5660.JPG
    IMG_5660.JPG
    138.2 KB · Views: 12
  • IMG_5662.JPG
    IMG_5662.JPG
    133.9 KB · Views: 13
  • IMG_5664.JPG
    IMG_5664.JPG
    180.2 KB · Views: 12

Latest posts

Members online

Back
Top