Wife has COVID, which leaves care of all 3 kids (3.5, 4 months, 4 months) to me, so if I get an hour during the middle day nap to play that's a lot. It's okay, I've been mostly waiting on parts.
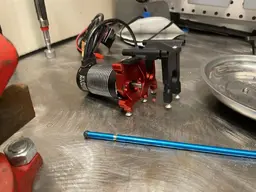
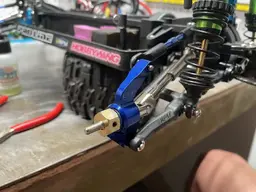
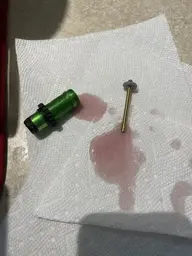
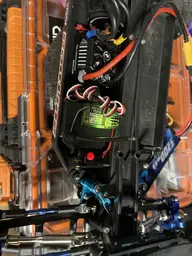
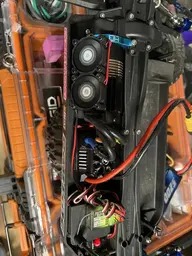
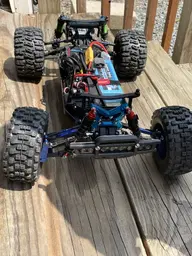
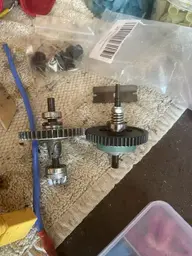
Traxxas 6878 slipper, front and rear diff housings 6880 and 6881. My HOPES were that the slipper would be a direct-ish swap - not much as far as dimensions available but what was, measured pretty close to what I had in the ECX slipper. Not even close. Won't even begin to drop into the ECX space provided for the slipper, let alone get the bearings to line up the ring gear. Looking at other options, mostly Team Associated, or swapping the motor mount/slipper mount assembly in its entirety.
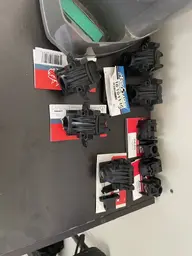
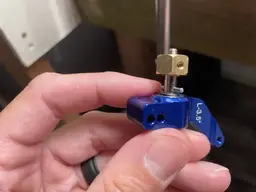
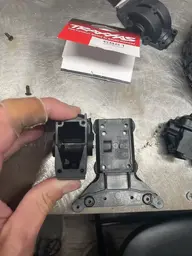
Diff housings were equally a miss. I was hoping that the bottom would line up mount wise with the ECX chassis then it would just be up to me to figure out mating to the driveshaft and bumper mounts (the shock tower is easy, just swap to Slash towers). One thing I didn't figure is that on the ECX the lower control arms mount to the differential assembly via the pin braces. The Slash, they mount to the bulkhead. Slash bulkheads (and LCG lower center of gravity) are impossibly different than ECX, I can't just swap to them.
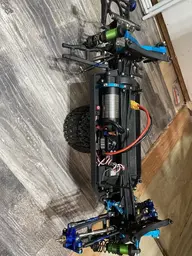
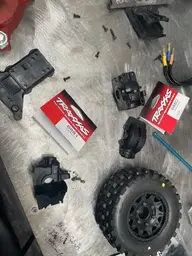
This thing is going to hit the shelf for awhile. I found a replacement slipper....$53 but whatever. I found an old thread back in 2014 where people were already having problems with this slipper holding power (and ring gears seperating from the diff cup, which I haven't experienced). I need to work on the 2wd, and think about this guy. Right now, the most likely scenario is return it to the nice driver it was on 3S power and move onto a slash chassis at a later date.
Traxxas 6878 slipper, front and rear diff housings 6880 and 6881. My HOPES were that the slipper would be a direct-ish swap - not much as far as dimensions available but what was, measured pretty close to what I had in the ECX slipper. Not even close. Won't even begin to drop into the ECX space provided for the slipper, let alone get the bearings to line up the ring gear. Looking at other options, mostly Team Associated, or swapping the motor mount/slipper mount assembly in its entirety.
Diff housings were equally a miss. I was hoping that the bottom would line up mount wise with the ECX chassis then it would just be up to me to figure out mating to the driveshaft and bumper mounts (the shock tower is easy, just swap to Slash towers). One thing I didn't figure is that on the ECX the lower control arms mount to the differential assembly via the pin braces. The Slash, they mount to the bulkhead. Slash bulkheads (and LCG lower center of gravity) are impossibly different than ECX, I can't just swap to them.
This thing is going to hit the shelf for awhile. I found a replacement slipper....$53 but whatever. I found an old thread back in 2014 where people were already having problems with this slipper holding power (and ring gears seperating from the diff cup, which I haven't experienced). I need to work on the 2wd, and think about this guy. Right now, the most likely scenario is return it to the nice driver it was on 3S power and move onto a slash chassis at a later date.
Attachments
Last edited: