Bigpoppa99
Well-Known Member
- Messages
- 99
http://www.ebay.com/itm/19002-TBR-B...589971?hash=item51d8ad5853:g:C1gAAOSwd3dXFqQu
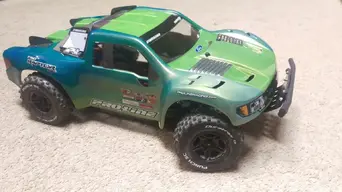
Is this the right T-Bone Racing bumper??
Is this the right T-Bone Racing bumper??
Follow along with the video below to see how to install our site as a web app on your home screen.
Note: This feature may not be available in some browsers.
pretty sure the gears are plastic, you have to buy the metal gear set separately even on the kit, and isn't it white lithium grease for the gears?
Everything is... lol. More so if in the state of KaliforniaOff topic a bit here... but can anyone confirm that thread locker is carcinogenic?
19002-TBR-Basher-Front-Bumper-Electrix-RC-Circuit-ST-T-Bone-Racing
Is this the right T-Bone Racing bumper??


It's a pain, but there is a feeling of accomplishment that comes with doing your own body... I HATE trimming, but masking and painting is fun.Digging the yellow. The stickers came applied? That's very easy. I was looking at an SCX10 G6 kit the other day but the cutting and painting of the body kind of put me off the idea.
")
I've done 6 bodies and they're all fun, tedious, and rewarding. The micros were the hardest to put the windows stickers in. Invest in a pair of RC lexan scissors and a hole reamer if you ever go that route. Or if you just stick with the hobby because you can easily trim wheel wells, move a body from one to another easily, add LEDs, etc.Digging the yellow. The stickers came applied? That's very easy. I was looking at an SCX10 G6 kit the other day but the cutting and painting of the body kind of put me off the idea.

I will try that later today. Do I need to re bind or reset anything? And where should the THR dial be on the trim? Middle I assume?

Register and gain access to Discussions, Reviews, Tech Tips, How to Articles, and much more - on the largest ECX RC community for RC enthusiasts that covers all aspects of the ECX brand!
Register Today It's free! This box will disappear once registered!